
Like a good designer, I put the concept into a sketch and spent countless hours detailing it, measuring, re-measuring, and measuring again. The first thing to do was to get the wall up with an opening in it big enough for the bookcase.

I decided to make the bookcase the same width as the hallway it would open up into so that if we left it open it would tuck into the end of the hall and look like it was supposed to be there.


The case had to hold blue-ray cases and DVD's so the shelf height and depth was dictated by that. I left 3 inches at the bottom for a kick plate and put in as many shelves as i cold to fill the height of the opening. Since there is duct work above the hallway, I was restricted to 78" total. Each shelf ended up being 9 inches high and 6 inches deep. Since it was a door that would have to be closed, I had to leave a bit of depth for a lip on each shelf so the cases wouldn't fly off the shelves if the door got closed too hard.
The width of the case was dictated by the overall length of the wall it was on and the spacing of the sconces etc. I knew that I had to have a speaker for the surround in a certain position based on the seating distance so that dictated the centre of either a wall space or a pillar. I also had a bunch of photos I wanted up so by time I worked everything out the bookcase ended up being 40 inches finished which was the same as the wall sections and gave me a 15 inch pillar for sconces and one half that right up on the stage.

Once all the measurements were done, I had to build the bookcase. Since it was going to be hinged on one corner by a piano hinge, it had to be beefy. I decided to use 3/8" plywood and double it up with stepped corners. The parts were, 2 sides, top and bottom, shelves, shelf spacers, outer top and outer bottom, kicks on the front and back and a 1/8" backing board. Facing wood to clean up the shelf edges and stopper lips to keep the cases on the shelves.

I made a cut plan and got everything out of 1 and a bit full sheets. Everything got glued and pin nailed together. Now just a hint here. I framed it up square but twisted on purpose. The reason for that is when the door is closing the top leading edge touches about 2 inches before the bottom leading edge where the door latch is. That way the case is under tension when it is latched closed. When you pull the candle holder to release the door, it pops open a bit. Had it been perfectly flat it would require some mechanism to open it up, or you would have to push it open while holding the candle holder. I wanted it to pop open on it's own.


The door jamb on the striker side had to be angled so that when the door sweeps open it clears the jamb. If you make the jamb square the leading edge of the door will bind on it. The facing jamb where the front of the case touches when it is closed was just drywall with a corner bead and mud finish. Flat, square and clean. The top trim that hides the upper gap is a piece of walnut. It is at the same height as the top of the sound absorption frames which will go in at a later date.


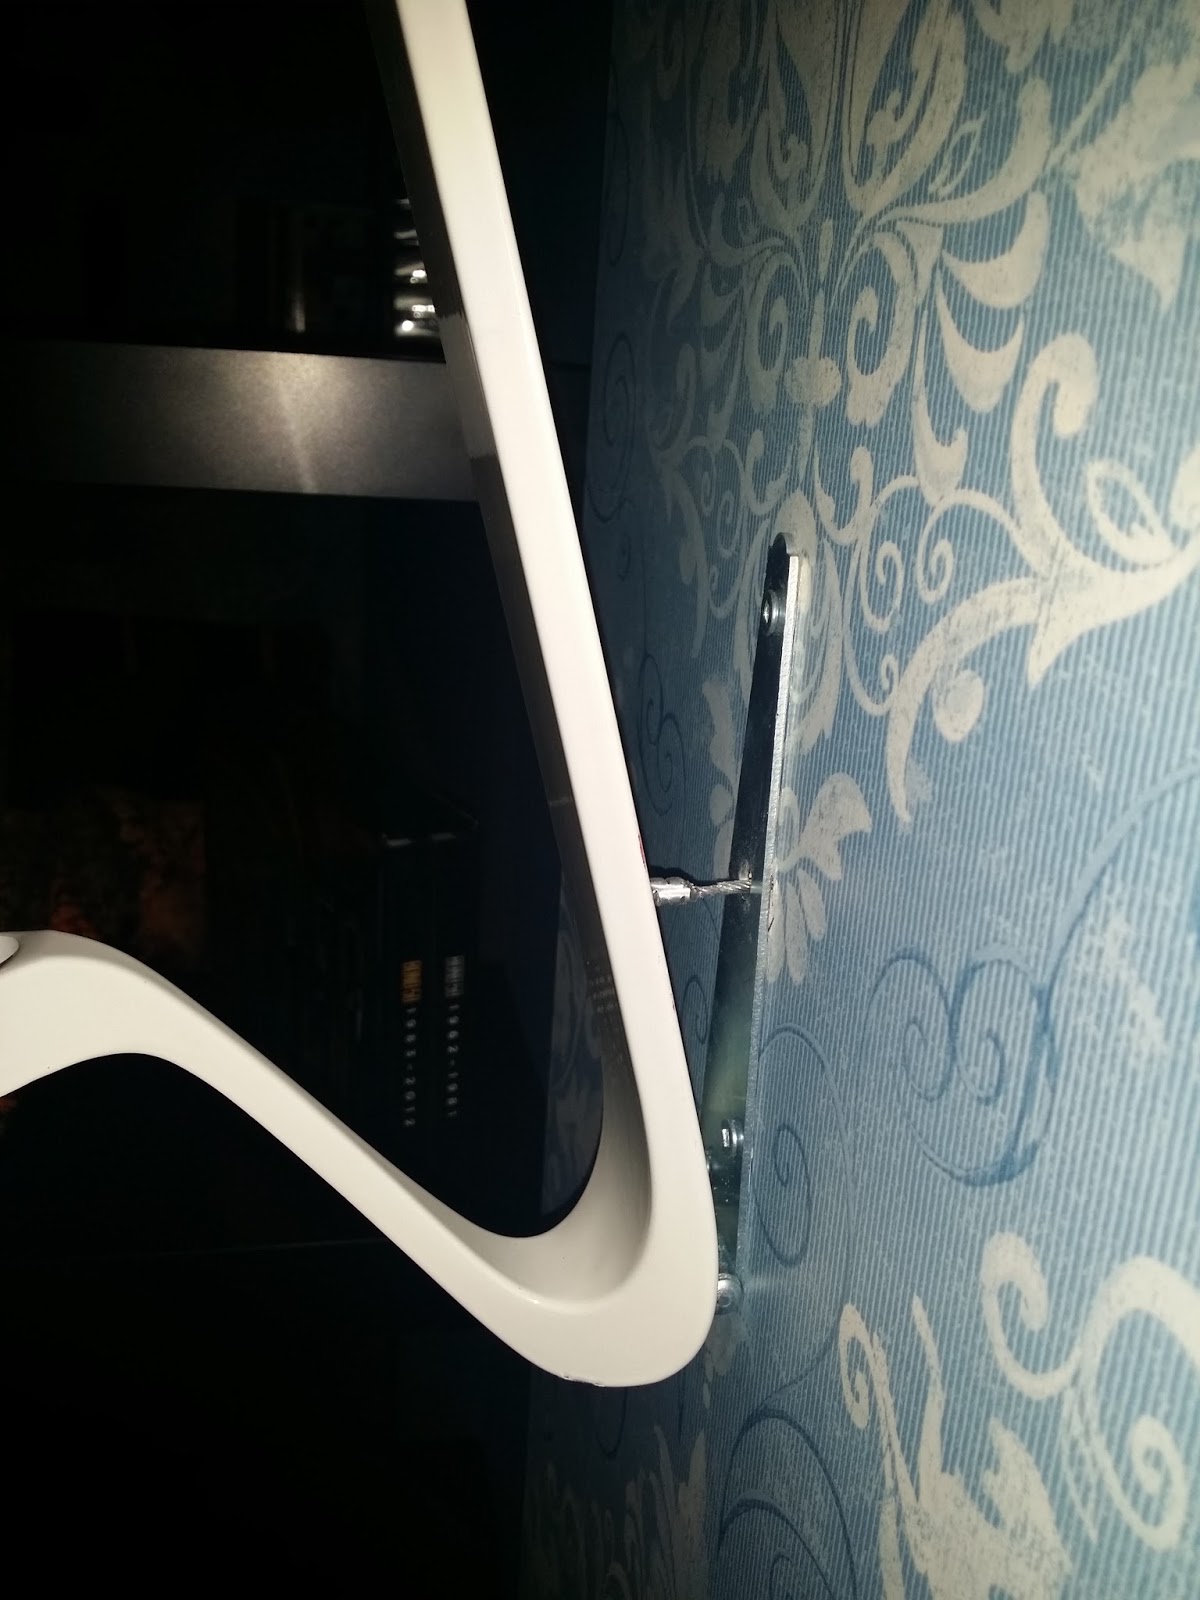
The latching mechanism is a simple lever door handle and latch that was mounted inside the jam instead of the door and has a cable on it so when you pull the candle holder it activates the latch. I had to put an extra spring on it as the friction and the weight of the candle holder was too much for the internal spring return mechanism. In the future I will just replace the whole mechanical mechanism with a servo and a small switch in the candle holder so all you have to do is take the candle out of the holder and the door will pop open.
All finished up and you can't tell that it is a door. I left the case a bit long so that when the carpet went in I would have to trim it up to slide over the carpet. I'd say it is about 1/8" into the pile that way when it is closed it looks like the carpet goes under it as if the case kick plate was put on the carpet like a base board.
